
In the following article we will see how easy is to build an API automation framework using SpringBoot and Gauge.
As a test example we will use the EurekaClient to verify that the framework is working and in a next article we will focus on Feign client and writing functional tests for a microservice.
PREREQUISITES:
- JKD 8+
- Docker

1.Creating the automation project
We are going to start with a predefined project from the gauge documentation website and change it to work with spring boot 2.

Let’s checkout the project and change it to work with:
- spring-boot-starter-test
- spring-cloud-starter-netflix-eureka-client
- spring-cloud-starter-openfeign
- spring-cloud-starter-netflix-ribbon
- lombok
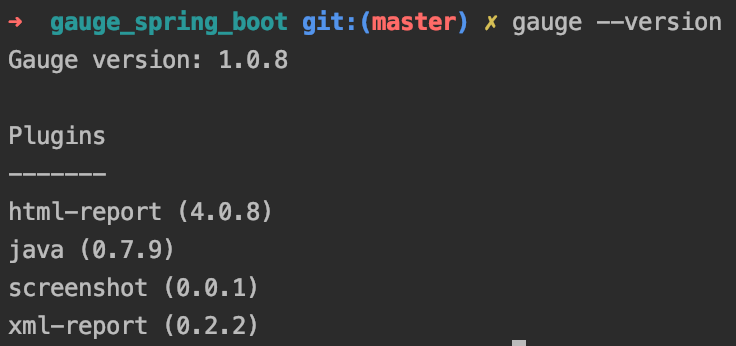
Full list of dependencies can be found here -> gauge_spring_boot
2.Configuring the framework
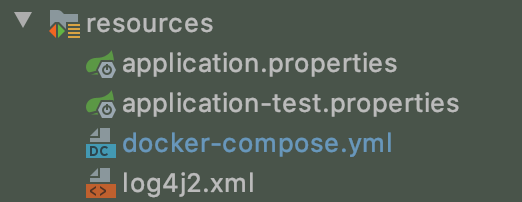
A. Add a resources folder inside src/test where we can configure our spring framework
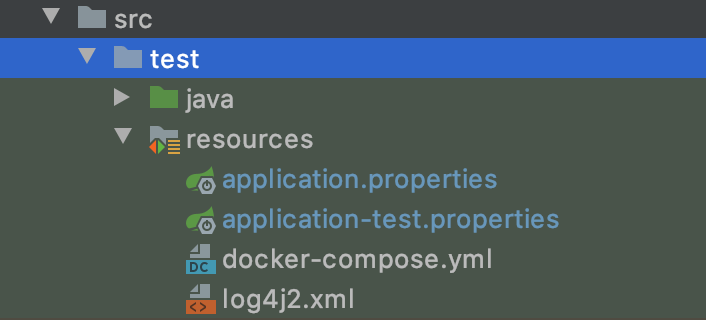
Ignore docker-compose at this stage and log4j2 can be found here -> log4j2.xml
Inside application-test.properties we need to configure eureka client because the framework will connect to a eureka server that we are going to start it local in docker.
application.properties – properties visible in all profiles

application-test.properties – poperties visibile using the test profile

NOTE:The framework is configured to work with the test environment and in spring boot it’s a common practice to separate environments with profiles in case you want to run the service/app with other properties.
Example of using multiple profiles that connect to different environments

B.Create the spring context and add instances through a configuration class
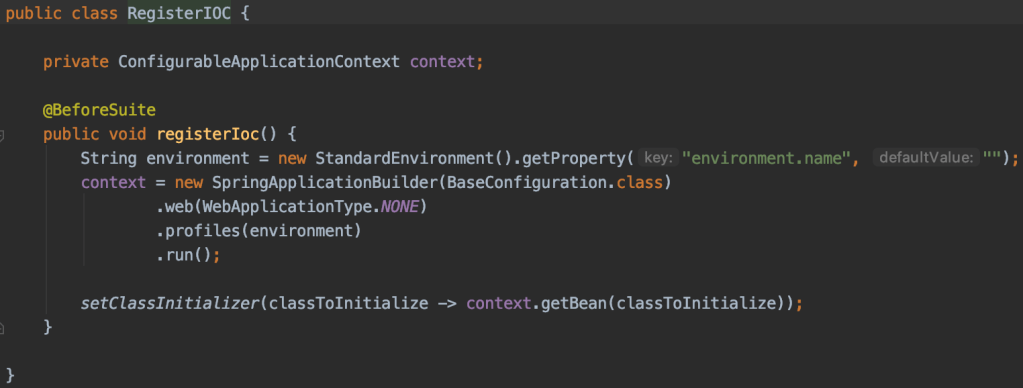
The class is pretty simple:
- it’s just creating a spring context with our instances
- it’s using SpringApplicationBuilder
- and inject every bean from BaseConfiguration with the profile specified in environment.name property (test by default).

Inside the base configuration loaded into the spring context we need to :
- enable feign clients on our package @EnableFeignClients
- enable the eureka client @EnableEurekaClient
- enable configuration properties and autoconfiguration
At this point the framework should be fully configured and running a mvn clean install inside the root should successfully compile it.
3.Creating a test
The purpose of this article is to create the skeleton of a framework that can be used with any RestAPI client and in a next article we will create tests for a microservice, but to verify that everything is running we will create a simple tests using the eureka client.

Inside com.automation we will create eureka package with two more packages that will hold our client and configuration with beans

and configuration

And if we remember well we have only one entry point for our beans and that is the BaseConfiguration class.Here we have to import our configuration in order to add the EurekaClient bean in the spring context.

Finally let’s create the specification file where we can see all the @Step phrases appended with our methods.
Inside spec folder create a new spec file
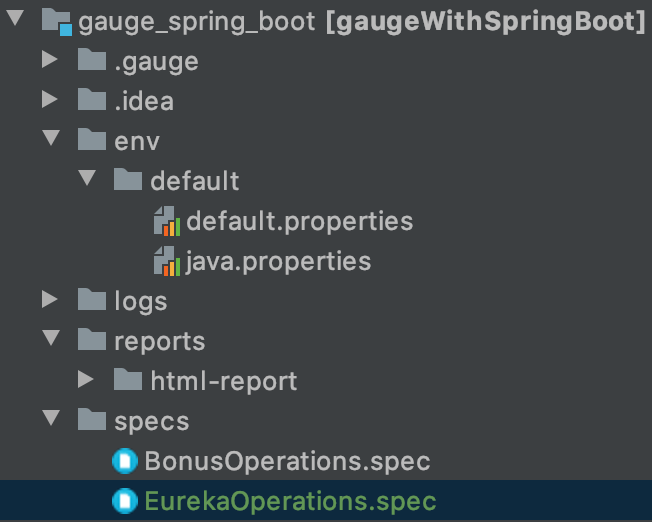
and inside EurekaOperations let’s add our @Step phrases

Now that we created the tests let’s put the environment up and running.
Go in resources folder and start it by opening a console where docker-compose.yml file si located and type docker-compose up -d
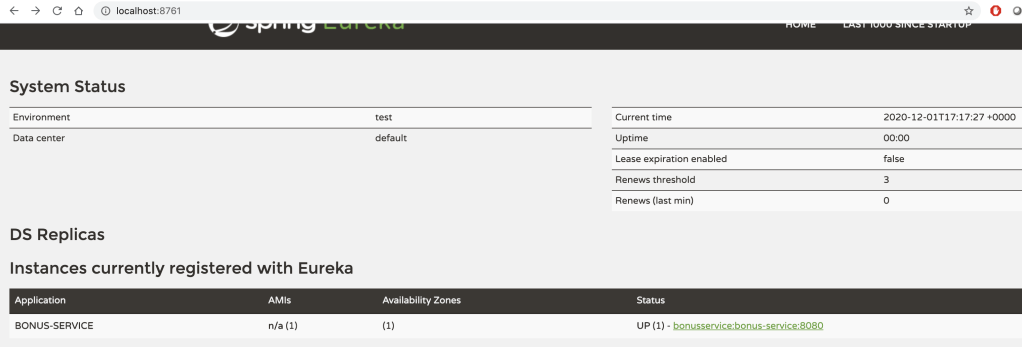
Open a browser and verify that Eureka server is running and has bonus-service registered.
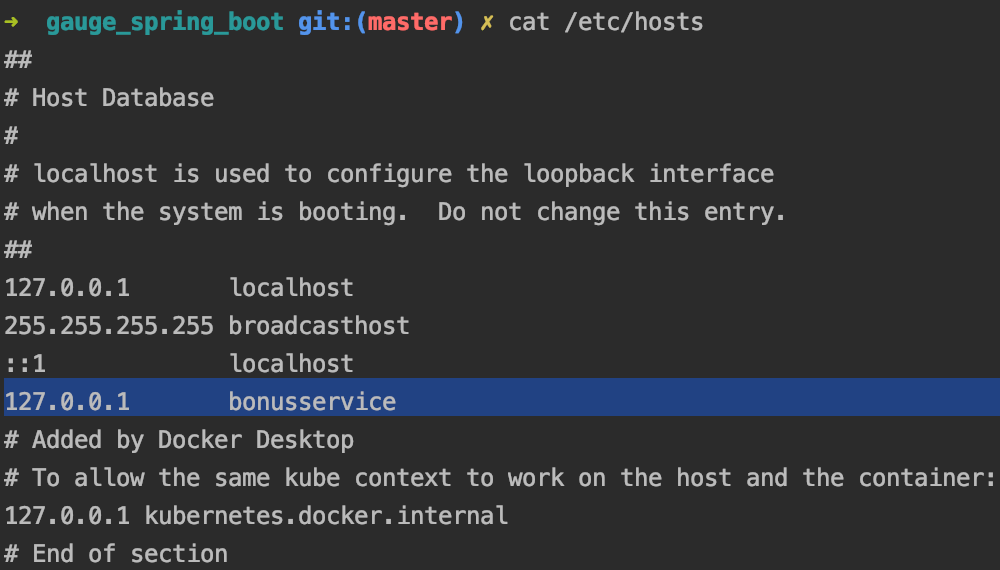
NOTE:Accessing the bonus-service is possible only if you add an entry into local hosts file like this
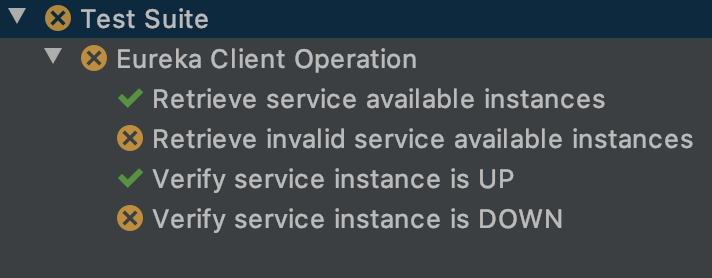
Let’s run the tests and see the results:
On the next article we will focus on creating API tests using a Feign client and discover more Gauge features. Stay tuned for more

The framework can also be found here -> API Automation with Gauge and Spring Boot


Leave a comment